Android Development Basics
Since this document involves many sound-related experiments requiring hands-on operations, we need to use an Android application to implement recording and playback functionalities on a smartphone.
Installing Android Studio
First, install the Android development environment, Android Studio. Please follow the official installation guide at: https://developer.android.com/studio/install
Implementing Audio Recording and Playback Application
To develop a new app, first open the welcome screen of Android Studio:

Select "Start a new Android Studio project" to proceed to the project template selection page:
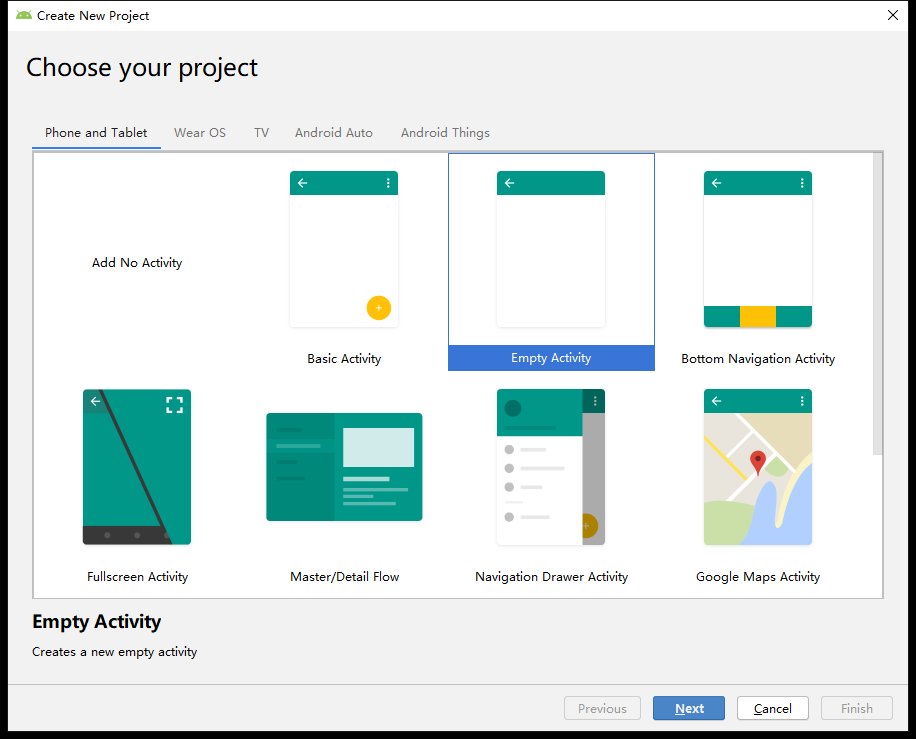
Here, choose "Empty Activity".
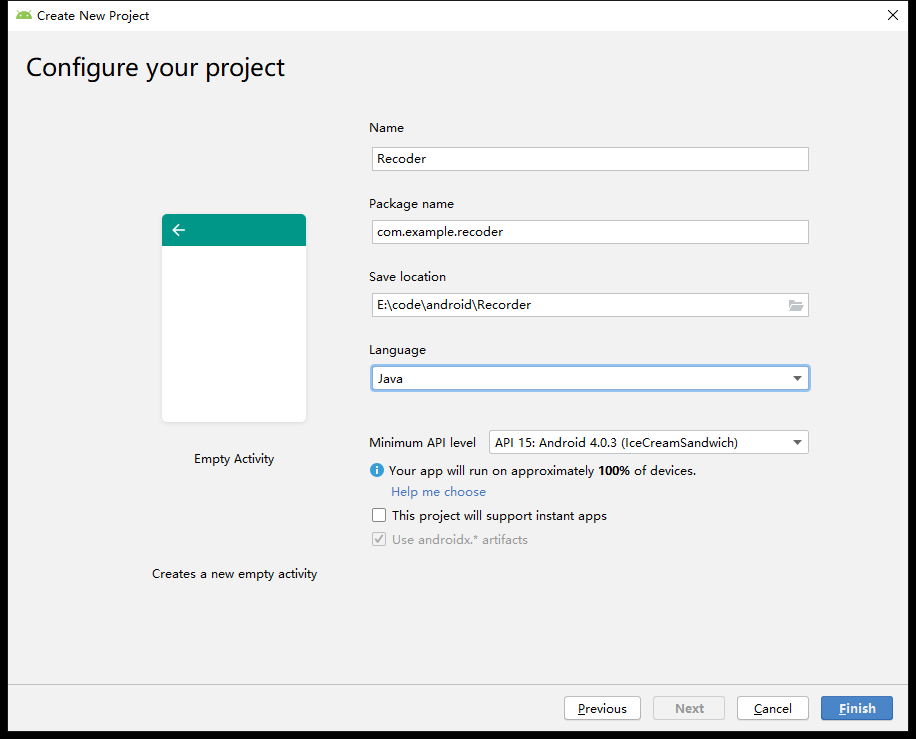
Set parameters for your project such as name, storage location, and programming language:
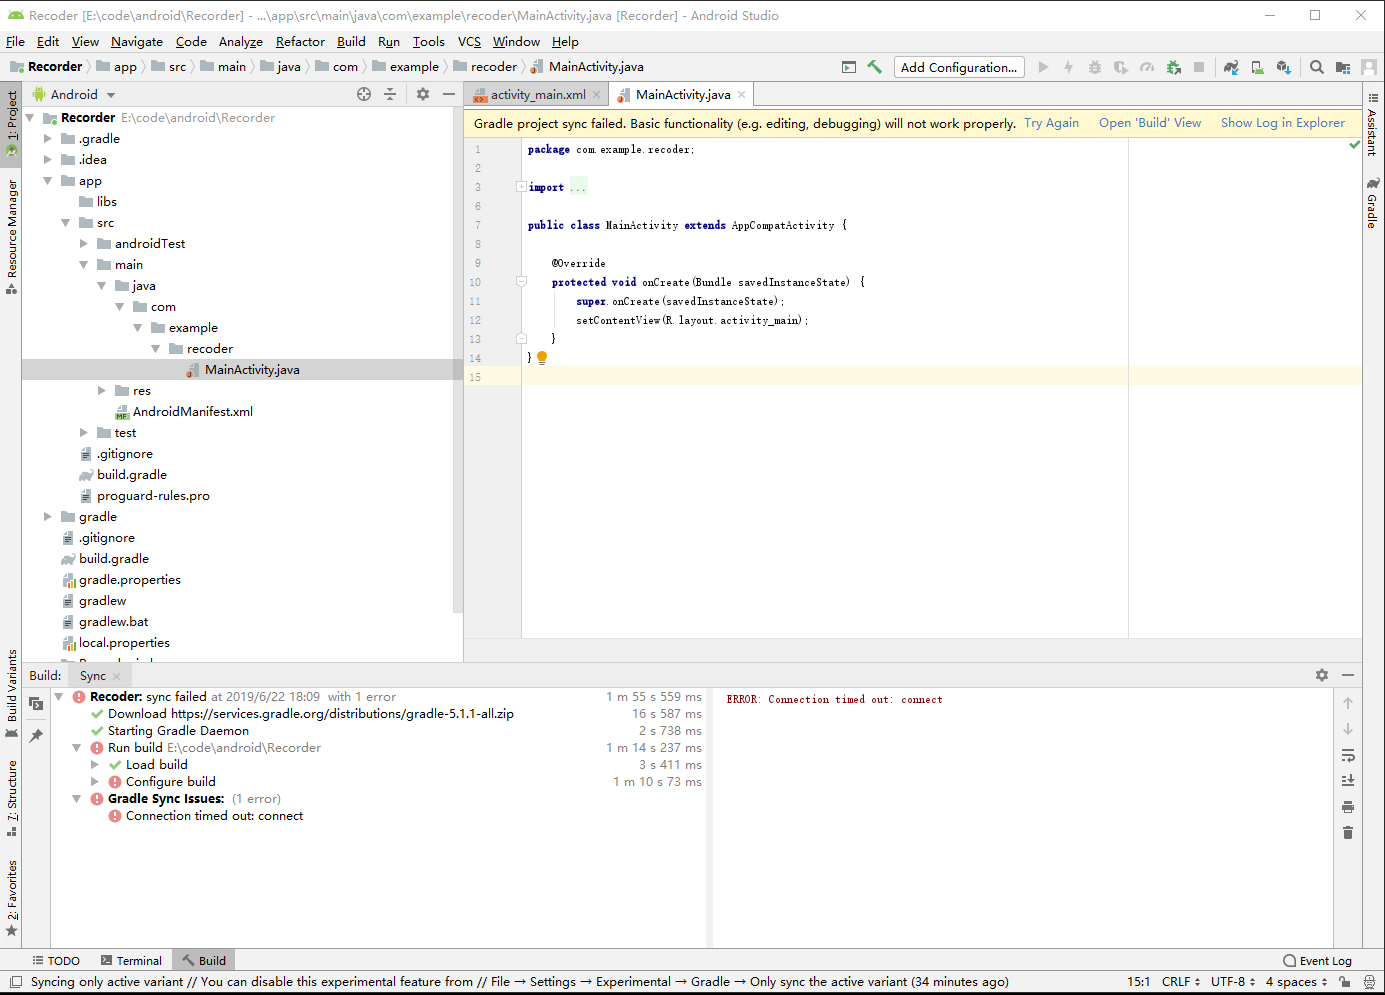
Then enter the development interface:
App Implementation
First, request microphone and storage permissions in the AndroidManifest.xml file:
<uses-permission android:name="android.permission.RECORD_AUDIO"/>
<uses-permission android:name="android.permission.WRITE_EXTERNAL_STORAGE"/>
<uses-permission android:name="android.permission.READ_EXTERNAL_STORAGE"/>
For Android 6.0 and above, runtime permission requests are also required. Implement the GetPermission() function and call it within the onCreate() method:
private void GetPermission() {

    /* Insert code for runtime permission request here */
    if (ActivityCompat.checkSelfPermission(this, Manifest.permission.RECORD_AUDIO) !=
            PackageManager.PERMISSION_GRANTED ||
        ActivityCompat.checkSelfPermission(this, Manifest.permission.WRITE_EXTERNAL_STORAGE) !=
            PackageManager.PERMISSION_GRANTED ||
        ActivityCompat.checkSelfPermission(this, Manifest.permission.READ_EXTERNAL_STORAGE) !=
            PackageManager.PERMISSION_GRANTED) {

        ActivityCompat.requestPermissions(this,
                new String[]{android.Manifest.permission.RECORD_AUDIO,
                        android.Manifest.permission.WRITE_EXTERNAL_STORAGE,
                        Manifest.permission.READ_EXTERNAL_STORAGE}, 0);
    }
}
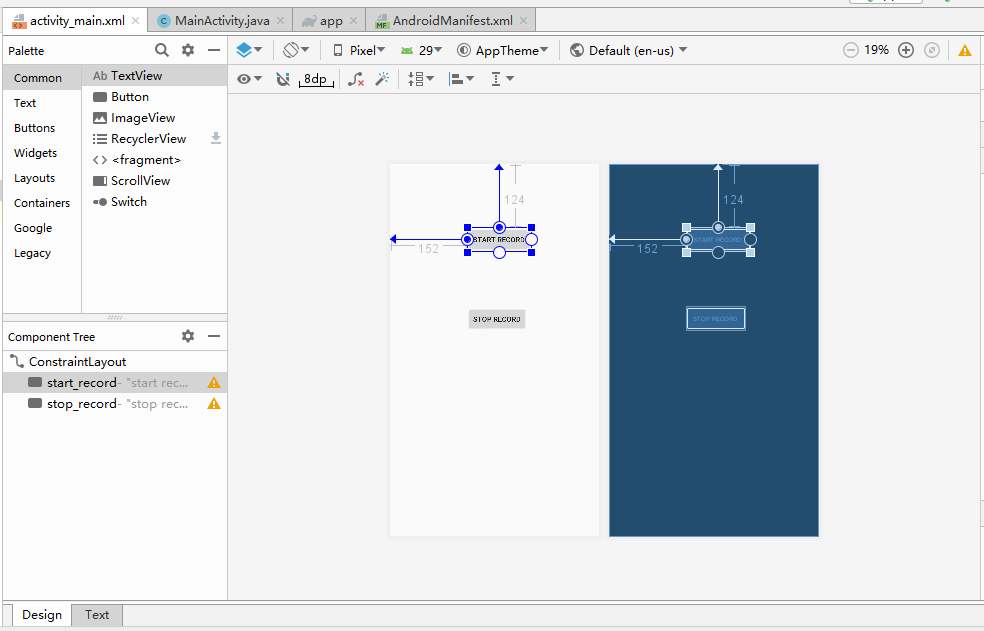
Designing the User Interface
Add two buttons, "START RECORD" and "STOP RECORD", in activity_main.xml:
Corresponding code for the buttons will appear in the activity_main.xml file:
<Button
    android:id="@+id/start_record"
    android:layout_width="wrap_content"
    android:layout_height="wrap_content"
    android:layout_marginStart="152dp"
    android:layout_marginLeft="152dp"
    android:layout_marginTop="124dp"
    android:text="start record"
    app:layout_constraintStart_toStartOf="parent"
    app:layout_constraintTop_toTopOf="parent" />

<Button
    android:id="@+id/stop_record"
    android:layout_width="wrap_content"
    android:layout_height="wrap_content"
    android:layout_marginStart="152dp"
    android:layout_marginLeft="152dp"
    android:layout_marginTop="108dp"
    android:text="stop record"
    app:layout_constraintStart_toStartOf="parent"
    app:layout_constraintTop_toBottomOf="@+id/start_record" />
Use the android:id attribute to assign IDs to the buttons and android:text to set their displayed text. Button layout and position can be adjusted as needed.
In MainActivity, declare two corresponding Button variables:
Button StartRecord, StopRecord;
In the onCreate() method, associate these variables with the UI buttons and disable the "Stop Record" button initially:
StartRecord = (Button) findViewById(R.id.start_record);
StopRecord = (Button) findViewById(R.id.stop_record);
// Disable stop button before start is pressed
StopRecord.setEnabled(false);
Attach click listeners to both buttons:
StartRecord.setOnClickListener(new View.OnClickListener() {
    @Override
    public void onClick(View view) {
        // Enable stop button and disable start button
        StopRecord.setEnabled(true);
        StartRecord.setEnabled(false);

        Thread thread = new Thread(new Runnable() {
            @Override
            public void run() {
                // Define filename for raw audio data
                String name = Environment.getExternalStorageDirectory().getAbsolutePath() + "/myrecorder/raw.wav";
                // Start recording and save raw data to file
                StartRecord(name);
                // Get current timestamp
                Date now = Calendar.getInstance().getTime();
                // Use timestamp to name final WAV file
                String filepath = Environment.getExternalStorageDirectory().getAbsolutePath() + "/myrecorder/" + now.toString() + ".wav";
                // Convert raw data into proper WAV format
                copyWaveFile(name, filepath);
            }
        });
        thread.start();
    }
});

StopRecord.setOnClickListener(new View.OnClickListener() {
    @Override
    public void onClick(View view) {
        // Stop recording
        isRecording = false;
        // Re-enable start button and disable stop button
        StopRecord.setEnabled(false);
        StartRecord.setEnabled(true);
    }
});
Implementing the Recording Functionality
First, define global variables in MainActivity to control recording state and set recording parameters:
// Sample rate: 48 kHz
int SamplingRate = 48000;
// Stereo channel configuration
int channelConfiguration = AudioFormat.CHANNEL_IN_STEREO;
// 16-bit encoding
int audioEncoding = AudioFormat.ENCODING_PCM_16BIT;
// Flag indicating whether recording is active
boolean isRecording = false;
// Buffer size for reading from AudioRecord stream
int bufferSize = 0;
Now examine the implementation of the recording function:
// Start recording
public void StartRecord(String name) {
    // Create file for raw data
    file = new File(name);
    // Delete if exists, then recreate
    if (file.exists())
        file.delete();
    try {
        file.createNewFile();
    } catch (IOException e) {
        throw new IllegalStateException("Failed to create " + file.toString());
    }

    try {
        // Output streams for writing raw data
        OutputStream os = new FileOutputStream(file);
        BufferedOutputStream bos = new BufferedOutputStream(os);
        DataOutputStream dos = new DataOutputStream(bos);

        // Determine minimum buffer size based on audio parameters
        bufferSize = AudioRecord.getMinBufferSize(SamplingRate, channelConfiguration, audioEncoding);
        // Initialize AudioRecord instance
        AudioRecord audioRecord = new AudioRecord(MediaRecorder.AudioSource.MIC, SamplingRate, channelConfiguration, audioEncoding, bufferSize);

        // Buffer to hold recorded audio samples
        byte[] buffer = new byte[bufferSize];
        // Start recording
        audioRecord.startRecording();
        // Set recording flag
        isRecording = true;

        // Continuously read and write audio data while recording
        while (isRecording) {
            int bufferReadResult = audioRecord.read(buffer, 0, bufferSize);
            for (int i = 0; i < bufferReadResult; i++) {
                dos.write(buffer[i]);
            }
        }

        // Stop recording and close streams
        audioRecord.stop();
        dos.close();
    } catch (Throwable t) {
        Log.e("MainActivity", "Recording failed");
    }
}
Next, convert the raw recorded data into a properly formatted WAV file:
private void copyWaveFile(String inFileName, String outFileName) {
    FileInputStream in = null;
    FileOutputStream out = null;
    long totalAudioLen = 0;
    // WAV files include a 44-byte header; subtract 8 bytes for RIFF chunk info → 36 extra bytes
    long totalDataLen = totalAudioLen + 36;
    long longSampleRate = SamplingRate;
    int channels = 2;
    // Byte rate: 16 bits × sample rate × channels ÷ 8 bits per byte
    long byteRate = 16 * SamplingRate * channels / 8;

    byte[] data = new byte[bufferSize];
    try {
        in = new FileInputStream(inFileName);
        out = new FileOutputStream(outFileName);
        // Get actual size of raw audio data
        totalAudioLen = in.getChannel().size();
        totalDataLen = totalAudioLen + 36;
        // Write WAV file header
        WriteWaveFileHeader(out, totalAudioLen, totalDataLen, longSampleRate, channels, byteRate);
        // Write raw audio data into WAV file
        while (in.read(data) != -1) {
            out.write(data);
        }
        in.close();
        out.close();
    } catch (FileNotFoundException e) {
        e.printStackTrace();
    } catch (IOException e) {
        e.printStackTrace();
    }
}

/**
 * Writes the standard WAV file header to the output stream.
 */
private void WriteWaveFileHeader(FileOutputStream out, long totalAudioLen,
                                long totalDataLen, long longSampleRate, int channels, long byteRate)
        throws IOException {
    byte[] header = new byte[44];

    header[0] = 'R'; // RIFF/WAVE header
    header[1] = 'I';
    header[2] = 'F';
    header[3] = 'F';
    header[4] = (byte) (totalDataLen & 0xff);
    header[5] = (byte) ((totalDataLen >> 8) & 0xff);
    header[6] = (byte) ((totalDataLen >> 16) & 0xff);
    header[7] = (byte) ((totalDataLen >> 24) & 0xff);
    header[8] = 'W';
    header[9] = 'A';
    header[10] = 'V';
    header[11] = 'E';
    header[12] = 'f'; // 'fmt ' subchunk
    header[13] = 'm';
    header[14] = 't';
    header[15] = ' ';
    header[16] = 16; // Format chunk length
    header[17] = 0;
    header[18] = 0;
    header[19] = 0;
    header[20] = 1; // Format type: PCM = 1
    header[21] = 0;
    header[22] = (byte) channels; // Number of channels (mono/stereo)
    header[23] = 0;
    header[24] = (byte) (longSampleRate & 0xff); // Sample rate
    header[25] = (byte) ((longSampleRate >> 8) & 0xff);
    header[26] = (byte) ((longSampleRate >> 16) & 0xff);
    header[27] = (byte) ((longSampleRate >> 24) & 0xff);
    header[28] = (byte) (byteRate & 0xff); // Byte rate
    header[29] = (byte) ((byteRate >> 8) & 0xff);
    header[30] = (byte) ((byteRate >> 16) & 0xff);
    header[31] = (byte) ((byteRate >> 24) & 0xff);
    header[32] = (byte) (2 * 16 / 8); // Block align
    header[33] = 0;
    header[34] = 16; // Bits per sample
    header[35] = 0;
    header[36] = 'd';
    header[37] = 'a';
    header[38] = 't';
    header[39] = 'a';
    header[40] = (byte) (totalAudioLen & 0xff); // Size of actual audio data
    header[41] = (byte) ((totalAudioLen >> 8) & 0xff);
    header[42] = (byte) ((totalAudioLen >> 16) & 0xff);
    header[43] = (byte) ((totalAudioLen >> 24) & 0xff);

    // Write header to file
    out.write(header, 0, 44);
}
Running the Application
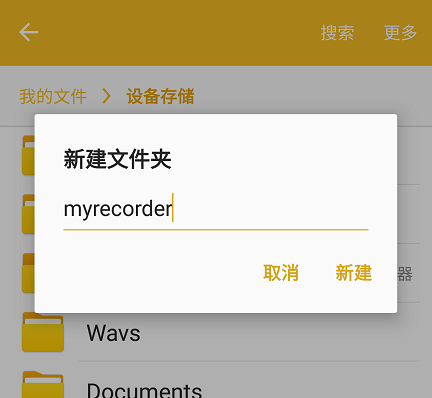
Since I configured the file path to store recordings inside a folder named "myrecorder", first create this directory in the root of your phone's external storage:
Alternatively, you may choose to save files directly in the root directory if you don't mind clutter.
Now run the app on a physical device. Connect your Android phone to the computer via USB and enable debugging. Click the Run button in Android Studio:

You should see your device listed—here, a Samsung phone:
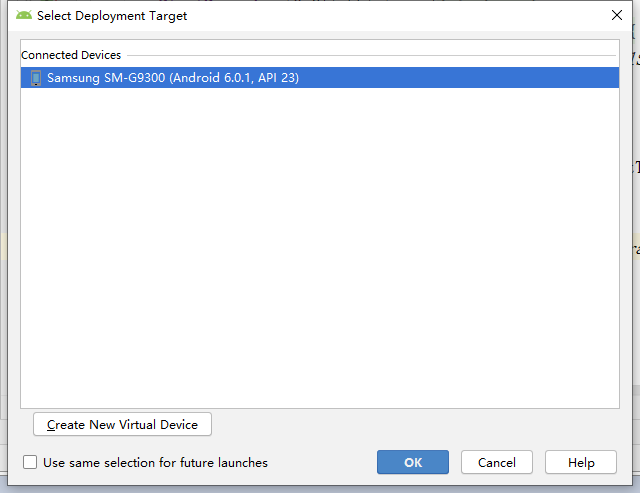
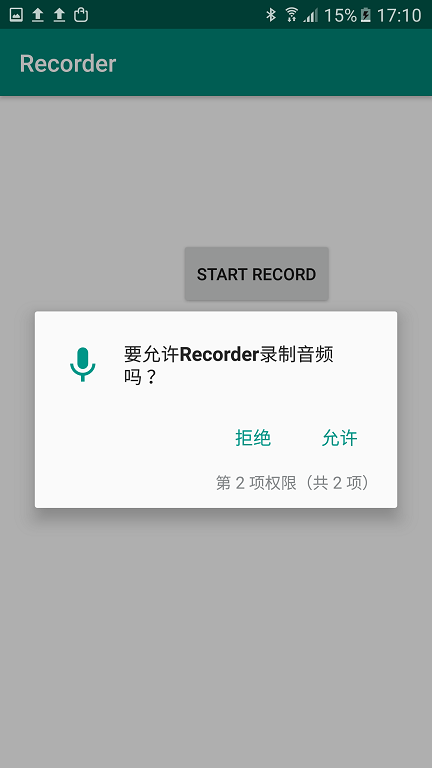
Click "OK" to deploy the app. Since I placed the permission request in onCreate(), the app will immediately prompt for permissions upon launch:
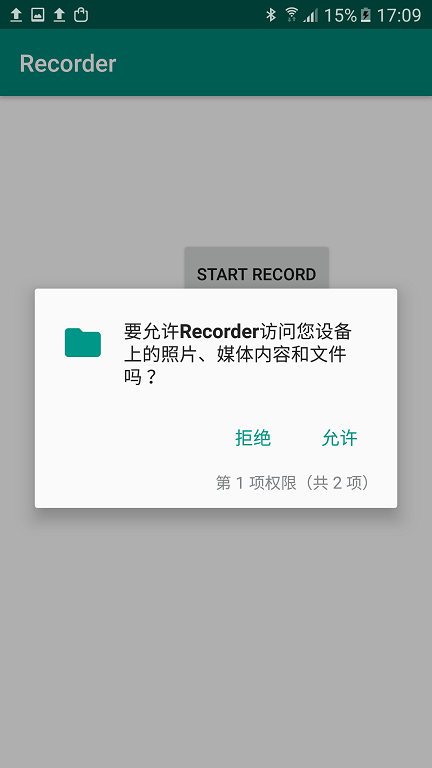
Note: You can alternatively request permissions only when they are about to be used.
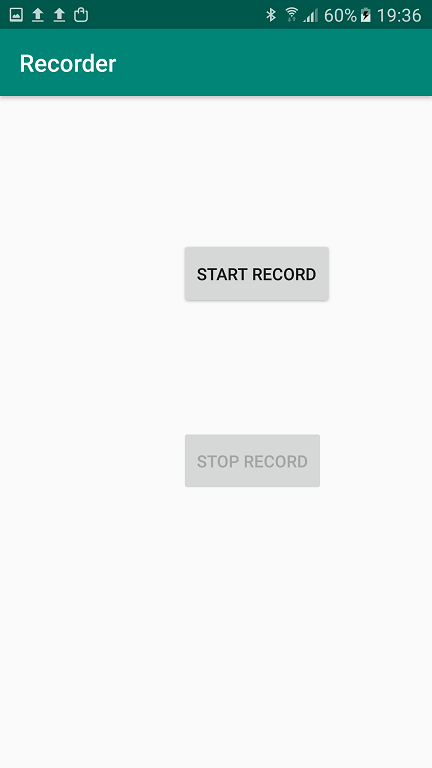
On the app interface, only the "Start Record" button is enabled initially:
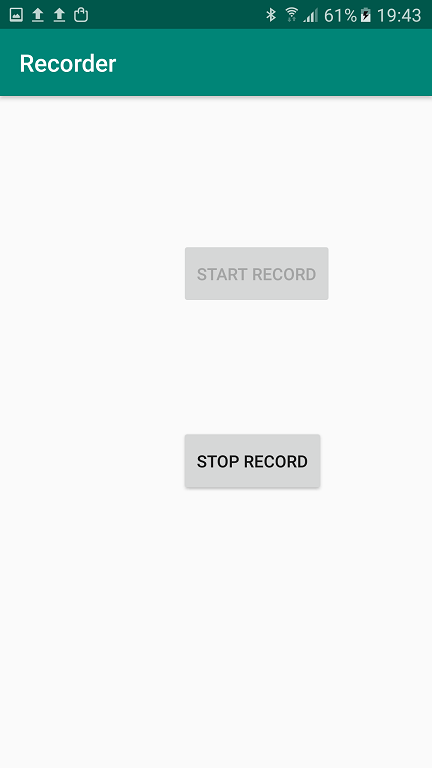
After pressing "Start Record", recording begins, the "Stop Record" button becomes active, and "Start Record" is disabled:
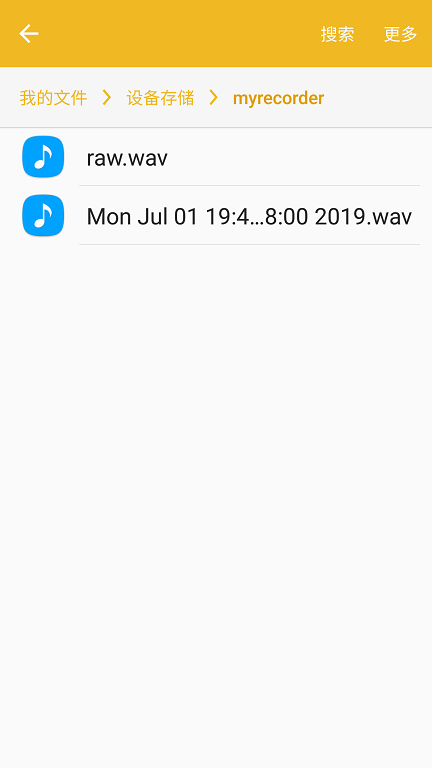
After clicking "Stop Record", two files appear in the folder: one containing raw data and another a properly formatted WAV file:
Congratulations! You have successfully implemented an Android app that records audio into a WAV file. In the next chapter, we will explore how to read and visualize this recorded audio using MATLAB.